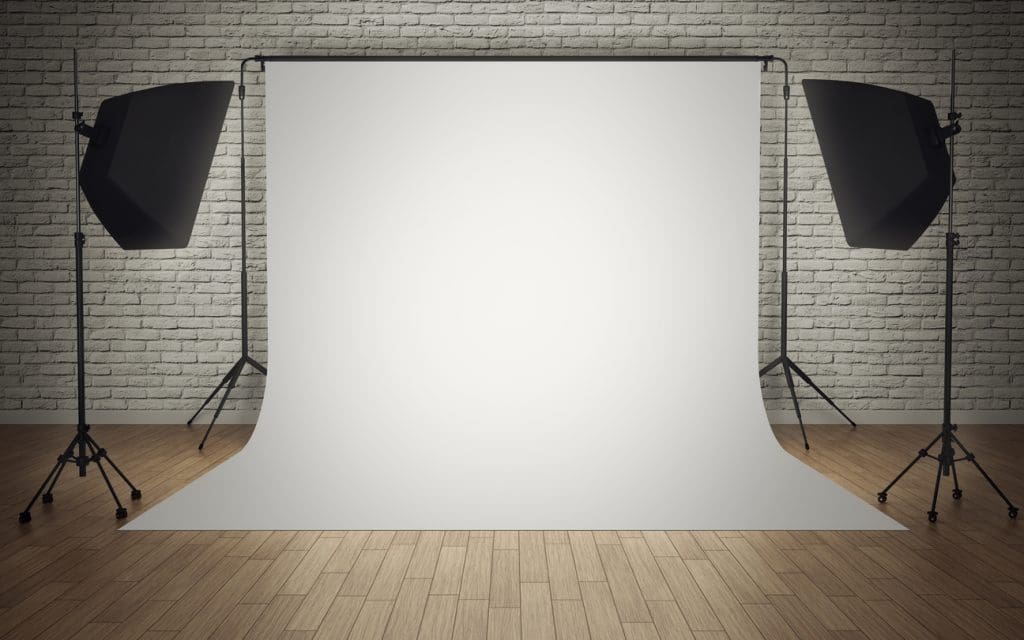
In many cases, it may mean adding other elements beyond a plain base or background. For branding purposes, you may have to add other elements to fill out the surroundings.
One thing to remember, though, is no matter what staging you do, the product has to stand out and not have any distractions.
What Kind of Background Should You Use?
You’ll find a lot of differing opinions about what kind of backgrounds you should use for product photography. One of the most practical backgrounds is simple cardboard with personal color choices.
A lot of people use white backgrounds to assure the details and colors of your products stand out. However, it may require a contrast like black cardboard for certain items. The latter works well when photographing food.
Since you’ll want to show multiple product angles, colored cardboard provides simplicity without distractions. It’s not to say some decoration in the background is bad. Some people use computer wallpaper from their monitors as a practical way to create a decorative background for added color.
Using Light Boxes
Another typical staging setup is using a light box. These are perfect when taking multiple product angles. Placing your product in the light box also prevents anything else in the background from getting in the way.
Many call these light tents as an alternative term. It’s easy to set them up on any sturdy table. To set up your lighting, you’ll want to set up your lights opposite each other on the sides. Then place your camera tripod in the middle.
A common procedure is to use a fabric background, even if you should iron these first to assure no wrinkles. Just one small wrinkle could become a major eyesore when you look at the final photographic result.
Using Models When Selling Clothing
It’s not always about choosing a background. Some products may look too lifeless without having them being used. Certainly any clothing can benefit from having models wearing the items. Just photographing a shirt or pants on a plain background won’t indicate how it’s going to look on an average person.
The same goes for ordinary products that require demonstrations to show their usefulness. Working with a professional photographer, they’ll have access to models and show you how well this works before doing a final photoshoot.
As always, don’t let the model distract from the product. In some cases, this might have to mean shooting close-ups of the model’s body or head when showcasing apparel.
Using On-Site Shots
To show some of your products in use, it helps to place images of demonstrations or models wearing your products from live events. If you’ve held a live event recently to promote your products, it’s a perfect place to capture some product photography.
The challenge is making sure these photos stay high quality. Avoid taking casual shots with your smartphone. Despite smartphone cameras improving in clarity, you should really use a digital camera.
Some photos you use may come from event attendees. Be sure to give them credit if you use any of their photos. However, a professional photographer on-site would work better to capture event shots at quality angles and pixel rates.
Keep reading our blog series at Visionair Photography to learn more about the best product photography methods.
